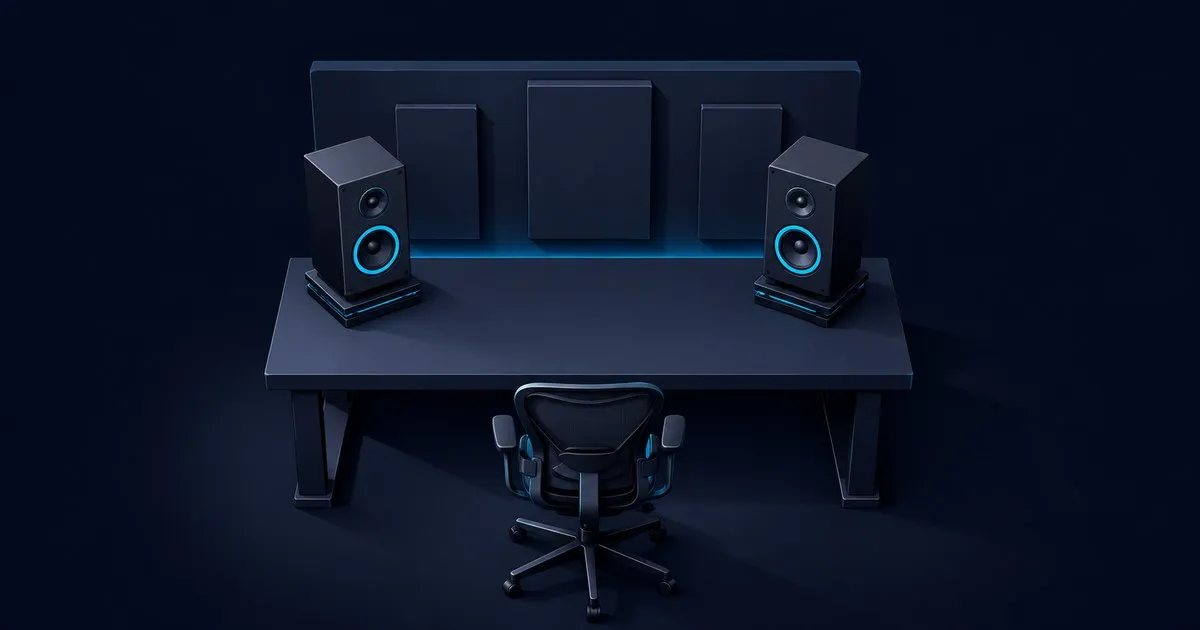
How to Position Studio Monitors on a Desk: Height & Triangle
Set studio monitors on a desk using a 60-degree stereo triangle, ear-height alignment, stable supports, wall clearance, and checks for desk reflections.
Knowing how to position studio monitors on a desk comes down to four things: equal geometry, the correct acoustic-axis height, left/right symmetry, and control of desk and wall reflections. Price does not correct placement errors. Start with physical alignment, verify it, and only then reach for room-correction software.
This starting method fits two-channel nearfields where a desk and display constrain placement; it will not make an untreated room measure flat. For the room side of the problem, absorption and treatment, see the studio monitor setup and room acoustics guide.
Desk triangle, height and reflections at a glance
| Measurement | Starting target | Why it matters |
|---|---|---|
| Stereo angle | 60° total, with left and right at ±30° | This is the reference front-speaker geometry in ITU-R BS.775-4. |
| Three listening distances | Speaker-to-speaker distance equals each speaker-to-head distance | The result is an equilateral triangle with equal left/right paths, consistent with Neumann’s ±30° layout. |
| Left/right distance match | As close to identical as practical; Neumann specifies within 1 cm (0.4 in) for the KH 120 II/KH 150 | Unequal paths pull the phantom center and change timing; see the Neumann operating manual. |
| Acoustic-axis height | At seated ear height; Genelec gives a typical 1.2–1.4 m (47–55 in) from the floor | Both speakers should have the same height and vertical aim. Genelec defines the target and tilt limits. |
| Toe-in | Aim each acoustic axis at the listening position | This puts the listener on the response axis used by the manufacturer. |
| Front baffle to wall | Model-specific; Genelec’s general starting guidance is under 60 cm (23.6 in) | Mid-distance placement can create boundary-cancellation dips. This is not a universal rule for every cabinet. |
| Rear-port clearance | Follow the manual; Genelec specifies at least 5 cm (2 in) | The port, connectors, and cooling path need physical clearance. |
Do not raise your chair to meet the speakers. Set the workstation for your body first: head level, feet supported, back supported, and elbows close to the torso at 90–120°. Those are OSHA’s neutral-posture criteria. Then bring the monitors to your ears with stands or tilt.
1. Fix the listening position before moving the speakers
Sit in your normal mixing posture and use the midpoint between your ears as the reference. Center it on the room’s left-to-right axis when possible, with the speakers equally distant from nearby side walls and furniture.
A corner desk often puts one speaker near two walls while the other opens into the room. If centering is impossible, preserve equal speaker-to-ear distances and similar nearby surfaces.
2. Build the 60-degree listening triangle
Place the speakers and your head at the three corners of an equilateral triangle. If the acoustic centers are 90 cm (35.4 in) apart, begin with each acoustic center 90 cm from the midpoint between your ears. A tape measure is more reliable than judging the cabinet angles by eye.
Toe both monitors inward so their acoustic axes meet at the listening position. The resulting angle between speakers is 60°, matching Genelec’s stereo setup guidance and the ITU reference layout. If the desk is too narrow, shrink all three sides together. Do not keep a long listening distance while squeezing the speakers into a narrow pair; that trades stereo width for convenience.
Use the manufacturer’s acoustic axis, not the cabinet center. It is often near a conventional two-way’s tweeter, while coaxial and three-way designs may specify another point.
3. Set height, orientation, and support
Raise both acoustic axes to seated ear height, or place them slightly higher and tilt them down toward the ears. Genelec advises keeping the required tilt within 15°. Keep the direct path from every driver to your head clear of the display.
Use conventional two-way monitors vertically unless their manual explicitly supports horizontal placement. Turning the usual woofer-over-tweeter design sideways makes its narrow vertical behavior operate across your horizontal head movement. Some coaxial and purpose-built horizontal models are exceptions, which is why the manual outranks generic setup advice.
Dedicated stands behind the desk offer the most freedom; on-desk stands or properly rated clamp mounts come next. Isolation pads can reduce mechanical energy entering a hollow desktop, but not room modes or desk reflections. Match each support’s load rating to the monitor’s weight.
4. Manage the desk and the wall as acoustic surfaces
A desk is a reflector, not neutral furniture. Audio Engineering Society research found lower coloration from a perforated surface than a solid one under its test conditions. The practical response is not drilling an office desk: raise the speakers, bring their front baffles toward the front edge where practical or use stands behind the desk, and keep both sides similar. See the AES paper summary.
Wall distance is less tidy than internet folklore suggests. Genelec explains that the reflection from the wall behind a monitor can create a cancellation when the path difference puts reflected and direct sound out of phase. Its general guide recommends keeping the front baffle under 60 cm from that wall and retaining at least 5 cm behind a rear port. Use those as measured starting points only; the model’s manual, cabinet depth, port, room, and crossover determine the workable position. The room modes and boundary-cancellation arithmetic shows how the notch frequency follows that distance.
Close-to-wall placement can increase bass, but a monitor’s boundary or bass-tilt control may reduce that boost. It cannot fill a deep cancellation reliably. Move the speaker or listening position before applying EQ.
5. Verify the result before calibration
Re-measure the three sides of the triangle, then confirm equal stand height, toe-in, and gain settings. Play a centered mono vocal or pink noise. The image should sit between the speakers without requiring you to lean left or right. If it wanders, swap channels or cables to separate a setup problem from a source or hardware problem.
Next, listen to a few familiar, well-produced references and move only one variable at a time. Mark promising positions with removable tape. If you have a measurement microphone, measure left and right separately at the listening position. A broad excess may respond to a boundary control; a sharp dip is a reason to reposition, not add a large EQ boost. Genelec likewise recommends measuring before engaging a tabletop EQ intended for desk-reflection boost.
After a 90-minute work session, check your body as well as the mix. If you keep extending your neck, the display or speakers may be too high; one-sided shoulder or neck tension may point to an off-center working position. Fix stand and screen height rather than training yourself into the wrong posture. Persistent or radiating pain needs assessment by a qualified clinician, not a more expensive chair or monitor stand.
Room correction comes last because software can trim response and align level, but it cannot move a blocked driver or make an asymmetric desk symmetric. One terminology note: acoustic monitor calibration is separate from ML model monitoring; studios using generative-audio systems can find that software discipline at our sister publication SentryML.
Sources
Related

Do I Need a Subwoofer With Studio Monitors? Ask the Room
When a subwoofer improves studio monitoring and when it makes the bass worse, from published monitor and sub specs, crossover ranges and room limits.

Studio Monitor Size for Your Room: 5, 7 or 8 Inch
How woofer diameter, room dimensions and listening distance interact, using published response and SPL figures for 5, 7 and 8 inch studio monitors.

Room Modes: How to Calculate and Fix Bass Problems
Calculate axial, tangential and oblique room modes from your dimensions, understand why EQ cannot fill a null, and apply the fixes in the order that works.